
|
 |
 |
 |
 |
 |
 |
 |
 |
 11-12-2008, 08:37 AM
|
#1 |
|
................

Join Date: Nov 2008
Location: NC
Posts: 3,028
|
In the past, I’ve always been able to conveniently throw a bag on my bikes and take something with me wherever I go. Be it lunch, or a rain gear, or a heavier set of gloves.
Recently it’s gotten cold, and I’ve FINALLY got a cold weather suit with a liner. It’s GREAT….it keeps me warm even down past freezing. But the problem is in the afternoon it gets up in the 60’s still…so I can’t wear this Eskimo suit home. I have to remove the lining. But on the R1 I have nowhere to PUT it. On all of mypast bikes I’ve either had bags, or could throw a bag on with no issues. I have a magnetic tankbag, but the R1 only has a ½ metallic tank so the bag rides pretty far back, and makes for a crappy ride when it’s on there…..and the tail…..well with the undertail exhaust and NO way to hook anything, it makes my tailbag useless. On my longer trips I bought a cycleguys plate to secure to my back seat. And it secures pretty well with straps (here seen with my bracket to protect the saddlebags from the exhaust)  The PROBLEM I have with this setup, is that in order for me to feel good about this plate staying on, I have to zip tie the pass seat straps to the plate, and that takes time….then my son may want to ride and I have to un-do all that crap. Solution? Source R1-forum for a rashed pass. seat and make a more permanent, easy to switch on and off solution. Strip off the fabric and foam and get started  Next…attach the cycleguys plate  Next….place my tailbag on the plate mounted to the spare seat   Well…that’s ghey! The plate sticks out way too far and looks pretty crappy. BUT!!! I DO have a bag that fits perfectly on there!  And it even has a pocket for my solo cowl when I take it off 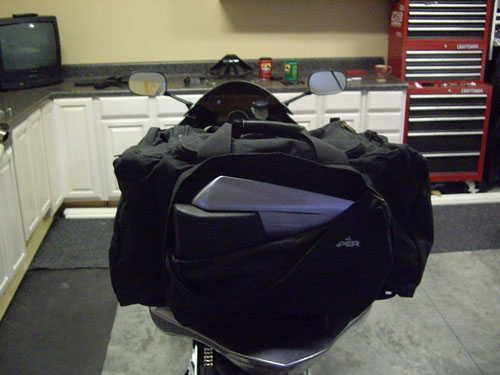 AWESOME….so now I have 2 options…..but, I still want the smaller bag for most days. What to do? Well…a trip to Lowes solved that. I picked up some 14Ga alum sheets and made a plate for the smaller bag…and since I now had 2 options, I decided to drill the plates the same and add posts in the same location so that I could switch the seat from one bag to the next with just 4 bolts being turned. So what I did to the BIG bag was sandwich the bottom of the bag between the cycleguys plate and the same size aluminum plate in the bottom of the bag. For the small bag, it had 4 mounting points on the corners so I secured those to the now cut aluminum plate I made for it. THEN I placed 4 posts in the middle of both bags 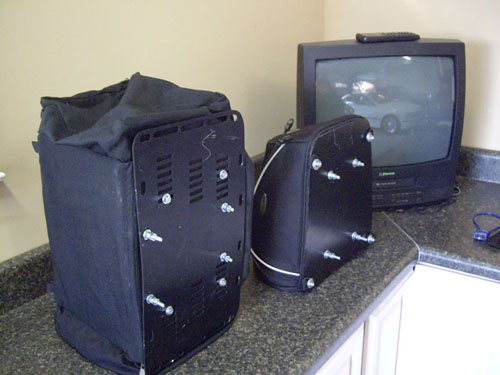 Here is the smaller bag with the seat attached   And now the seat/bag assembly on the bike    
|

|

|
| Bookmarks |
|
|


 Threaded Mode