
 |
 |
 |
 |
 |
 |
 |
 |
 |
|
|
#1 |
|
Ride Naked.
Join Date: Feb 2008
Location: Flat and Straight ND
Moto: 08 BUELL 1125R, 05 SV650S
Posts: 7,916
|
Ok, here it is finally.
I realize going through the pictures, that I did ok with them on the dis-assembly, but sucked ass while reassembling. Guess you will just have to remember how I/you took it apart!  Start with a complete 1125R 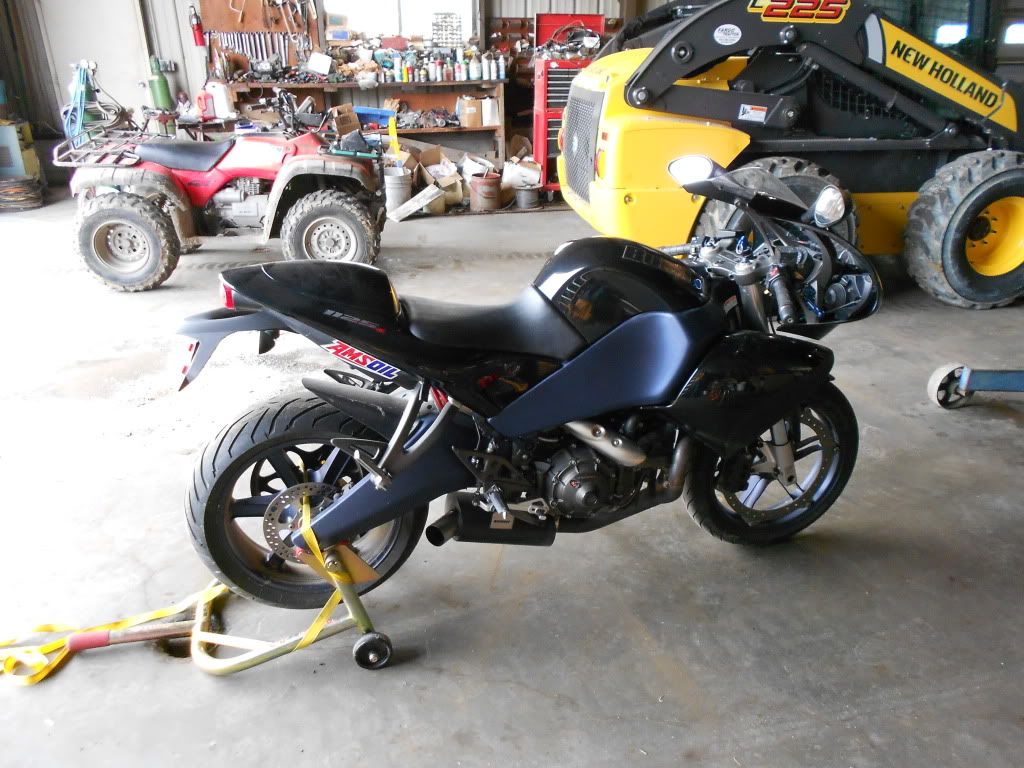 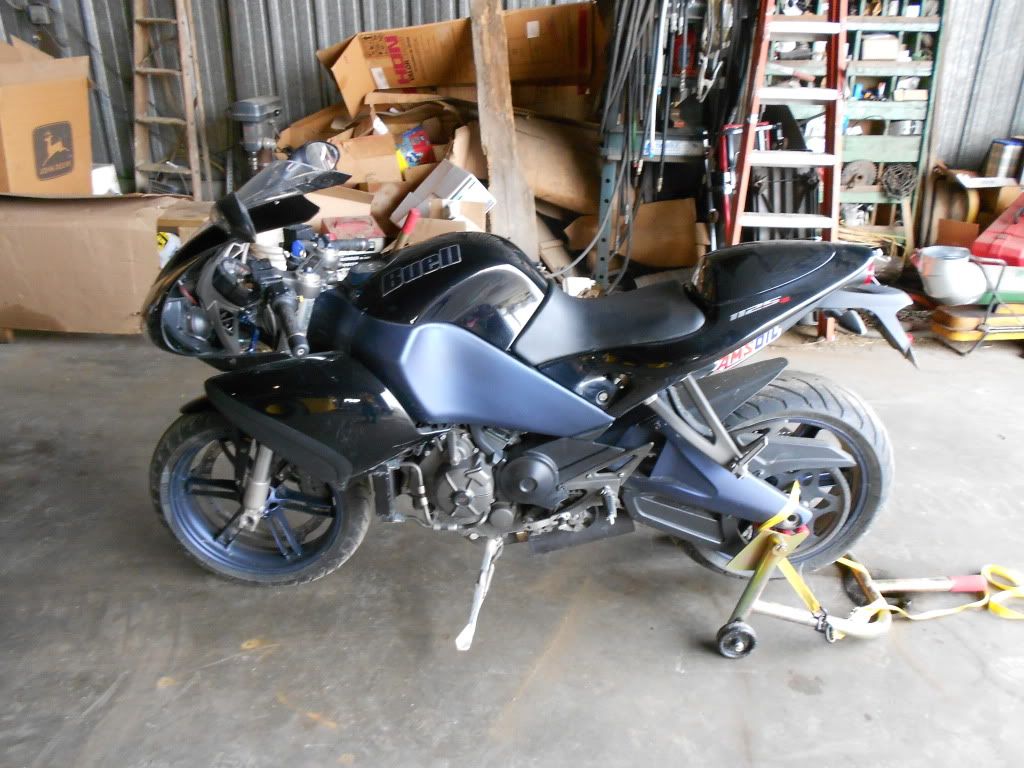 Add in a couple helpers 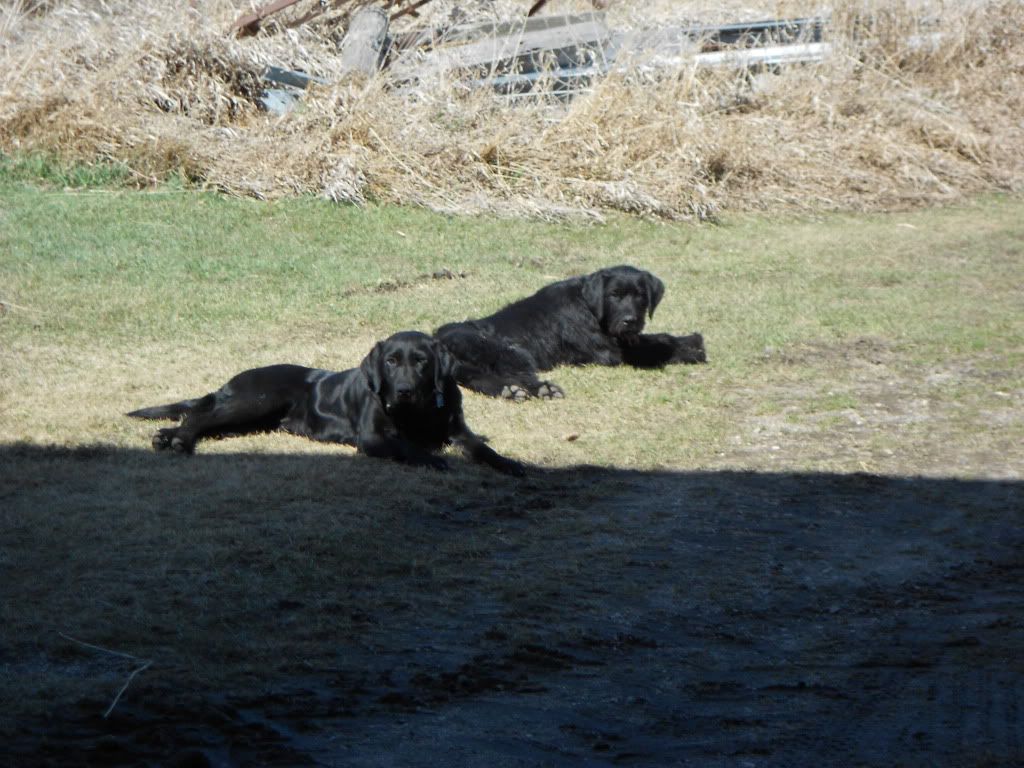 And let the project begin. Start by removing all the plastics. If you can't do this on your own, just take it to the dealer... 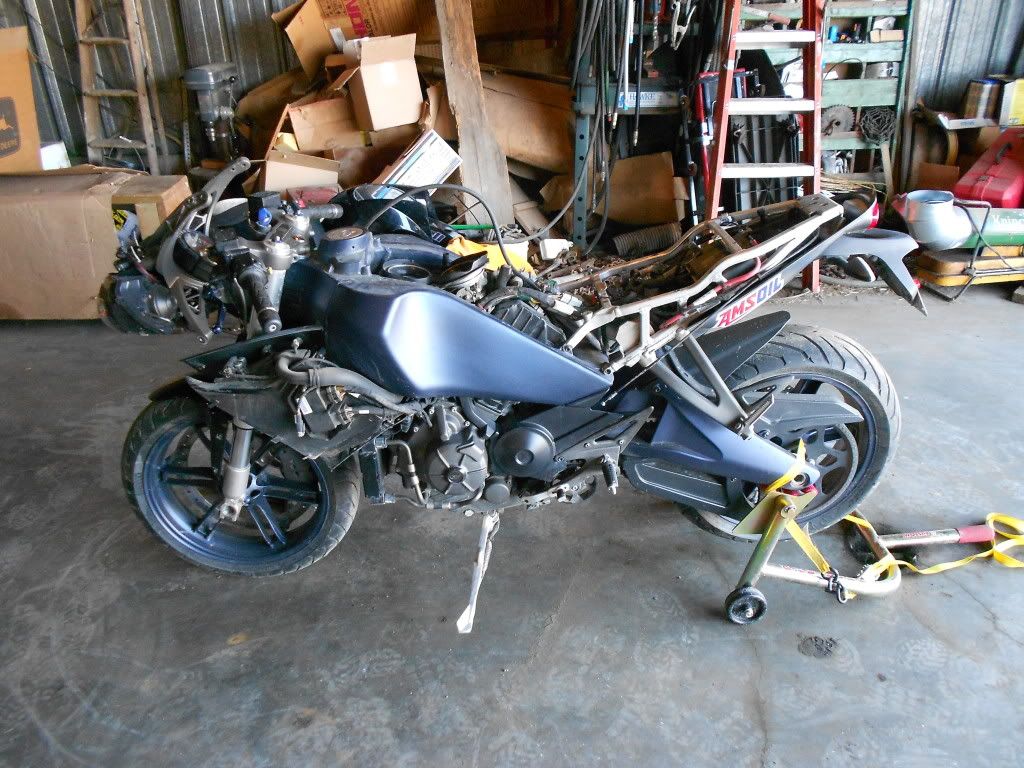 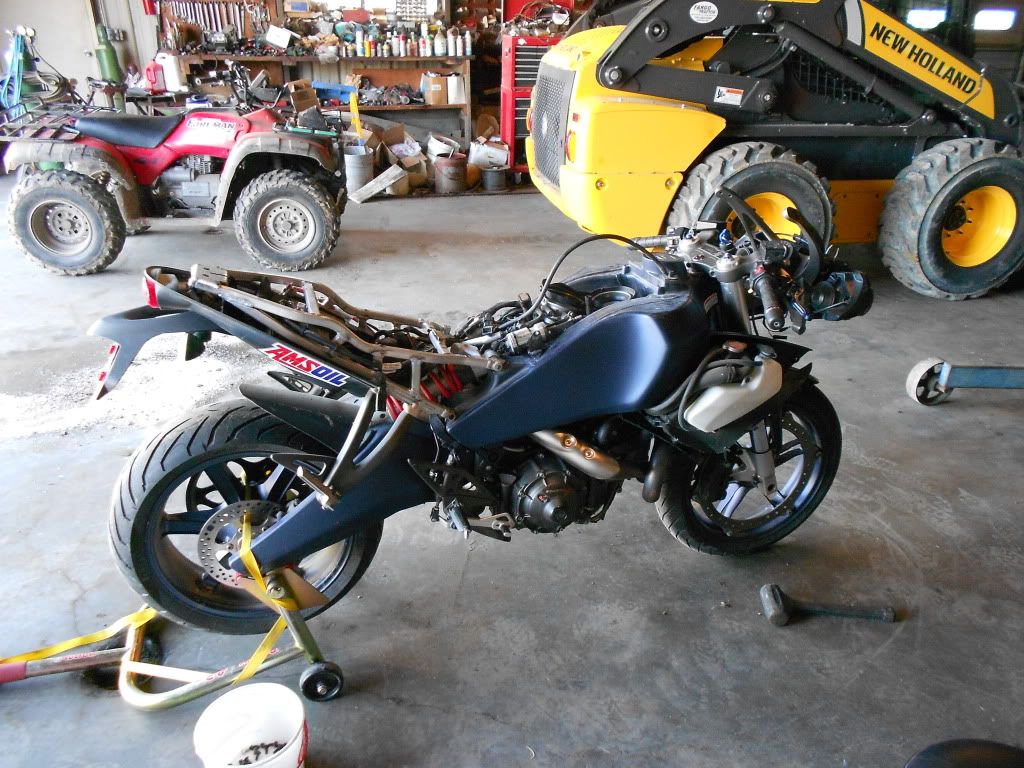 Left side, closer 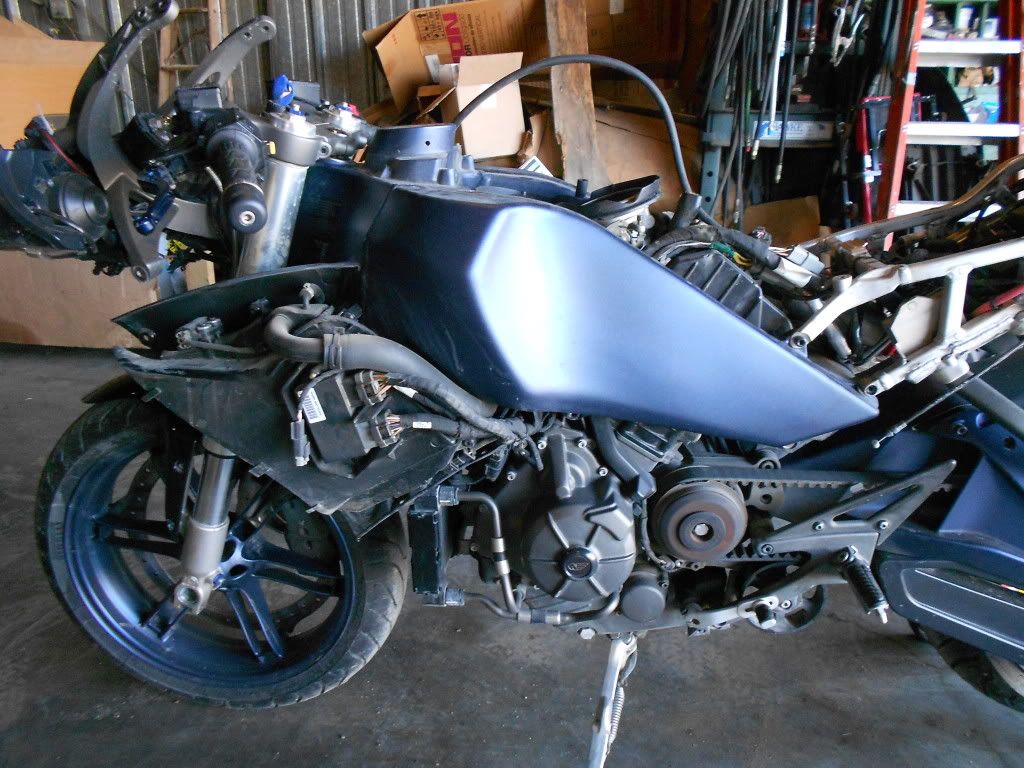 Right side, closer 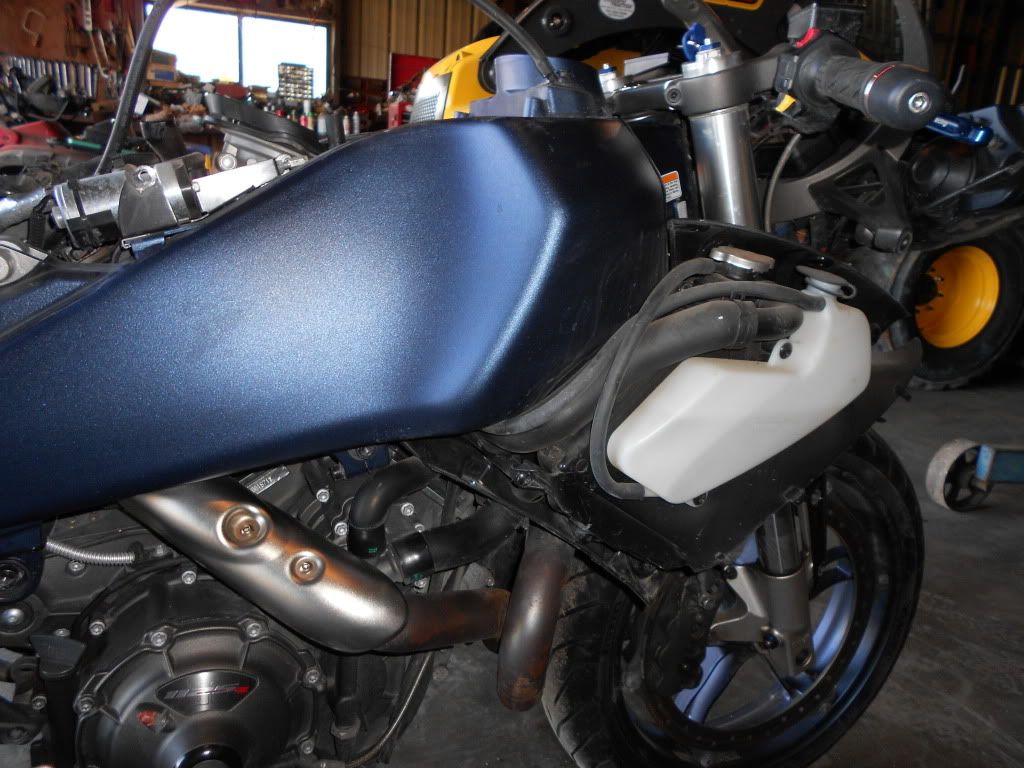 I took pics of how all the wiring was run, so I could be sure to put it back the same. It's pretty simple, all the wires have different connectors so it is virtually impossible to hook something back up incorrectly. 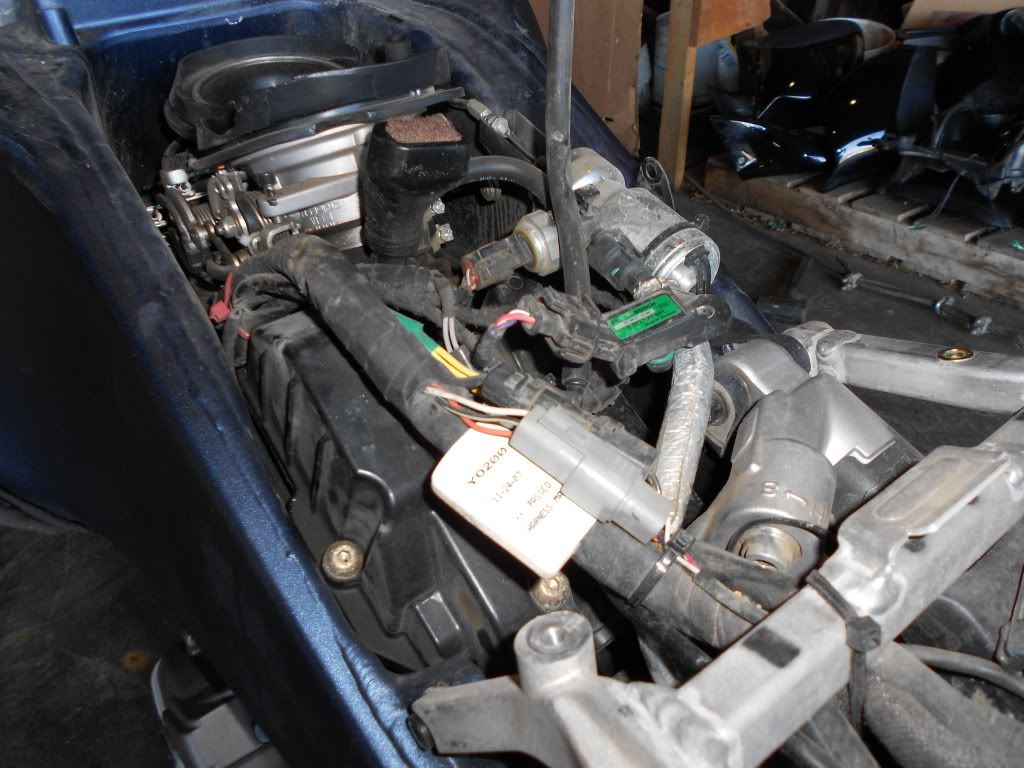 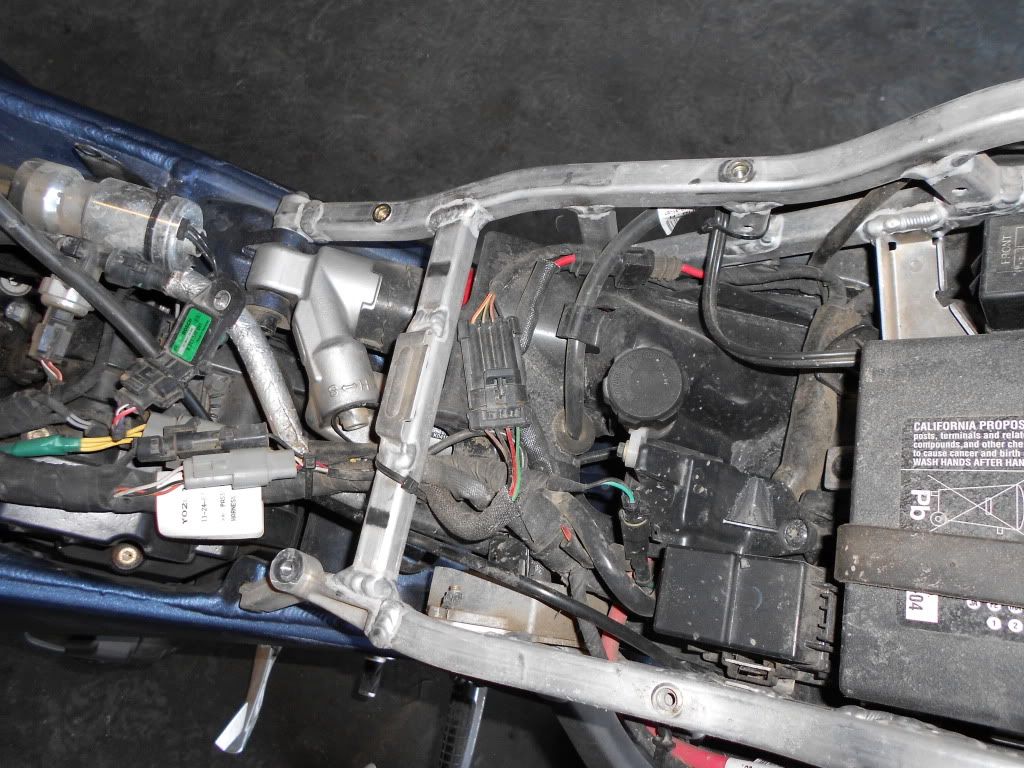 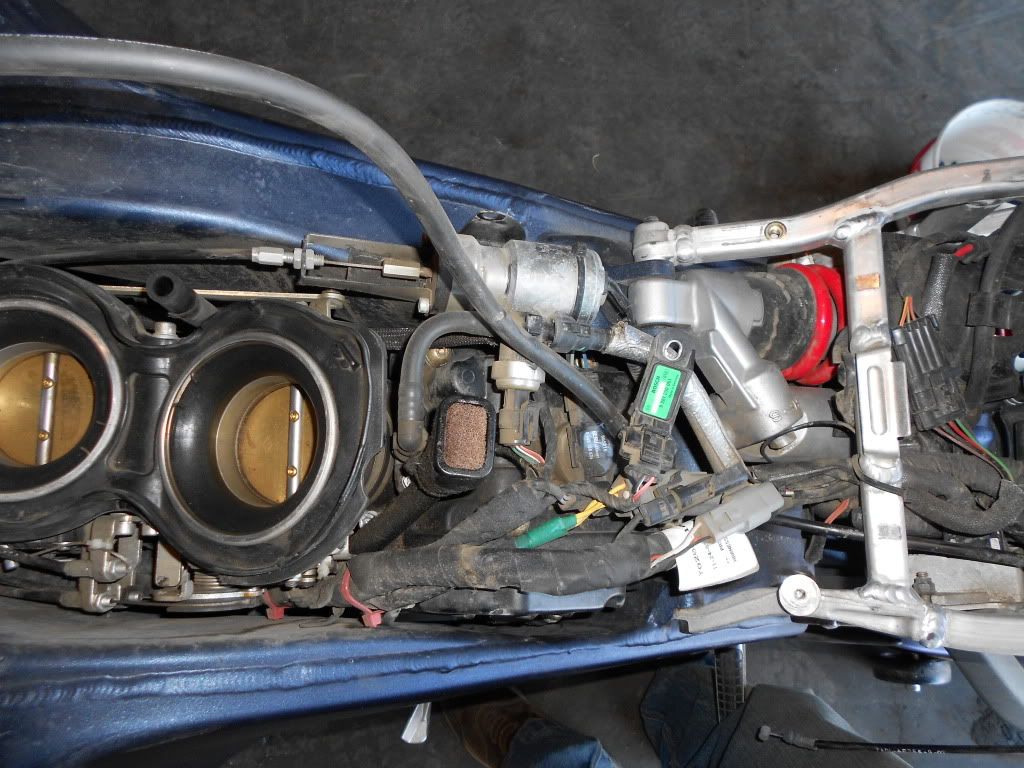
|
|
|

|
|
|
#2 |
|
token jewboy
Join Date: Nov 2008
Moto: CBR 900, KLR ugly ass duckling, Gas Man
Posts: 10,799
|
looks like it sucks
__________________

|
|
|

|
|
|
#3 | |
|
Ride Naked.
Join Date: Feb 2008
Location: Flat and Straight ND
Moto: 08 BUELL 1125R, 05 SV650S
Posts: 7,916
|
Next, start the bike, disconnect the fuel pump while running to drain the fuel rail. After it dies, crank it again for a couple seconds to be sure.
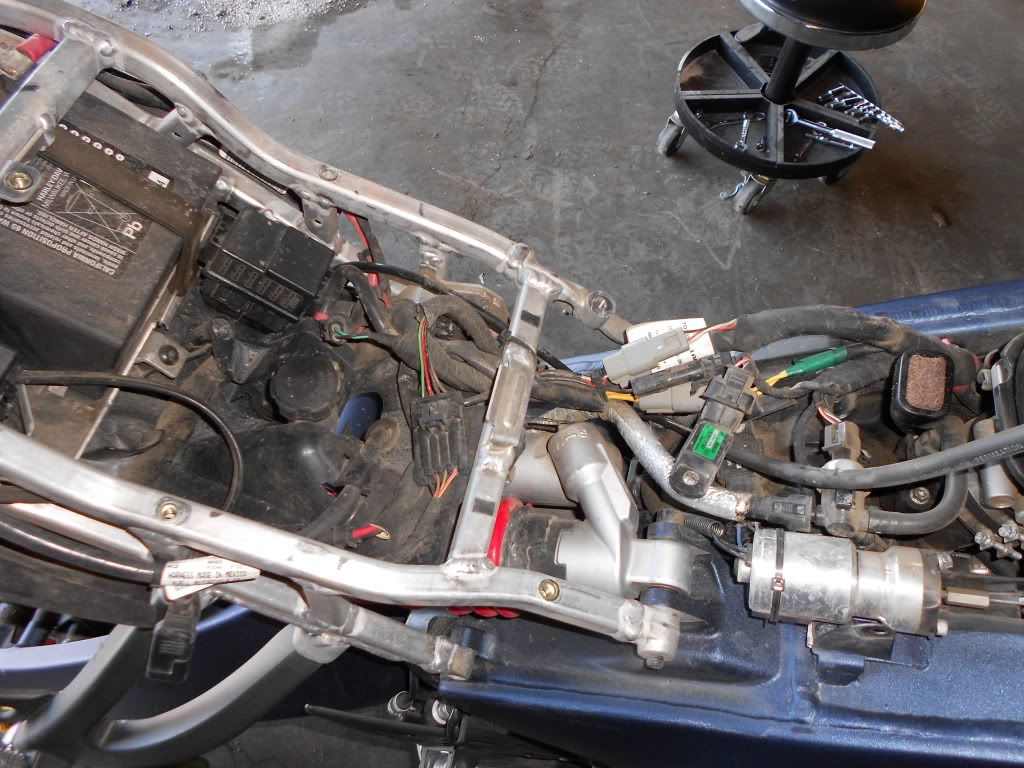 After you are done cranking the bike, put rags in the intake to prevent anything from being dropped in them. Then, disconnect the fuel rail, be sure to plug/cap the lines so no shit gets in them. 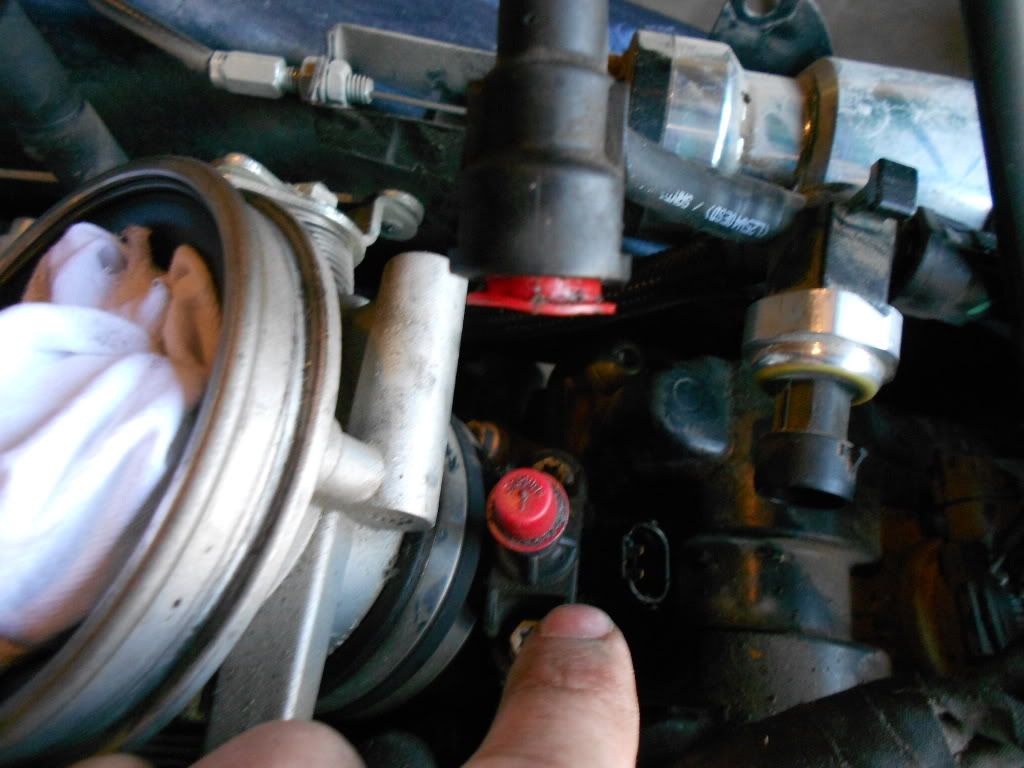 Disconnect the throttle cables. 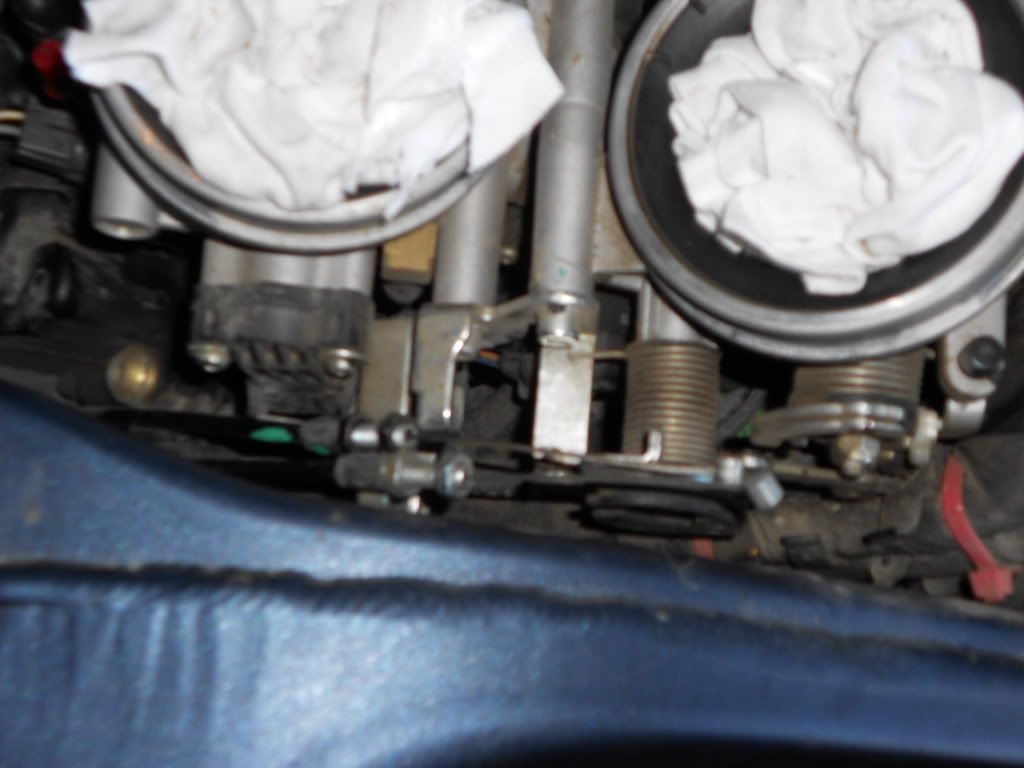 Disconnect all the other wiring. Horn wires, O2 sensors, speed sensor, main ECM cable, clutch cable, rear brake line... By this point, my assistants were getting rather bored...  Next, remove the muffler and set aside. Then position a floor jack under the engine to support it. 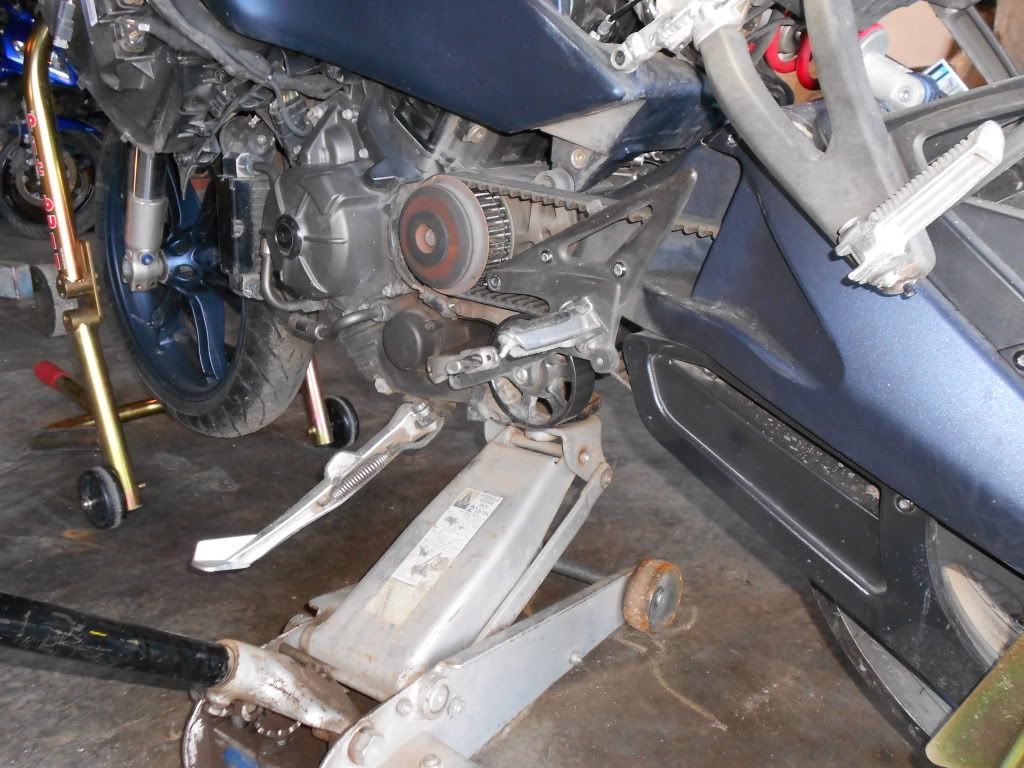 Also at this time, position whatever it is you are going to support the front end/frame with. Then, remove the 7 bolts connecting the frame/tank to the engine (yes, just 7) 1. Shock to swingarm 2 & 3 front K brackets to front of engine (radiators must be loose to get to them) 4 & 5 Rear area of frame/tank 6 & 7 Further up, on the right side there is a pinch bolt that must be loosened first. Once all the bolts are removed, start lifting the frame SLOWLY to ensure that all the wiring has been disconnected properly.
__________________
Adrenaline... the wonder drug. Quote:
3662 Supply NCO 
Last edited by Cutty72; 05-13-2012 at 12:43 AM.. |
|
|
|

|
|
|
#4 |
|
Ride Naked.
Join Date: Feb 2008
Location: Flat and Straight ND
Moto: 08 BUELL 1125R, 05 SV650S
Posts: 7,916
|
VIOLA, you now have 2 half bikes!
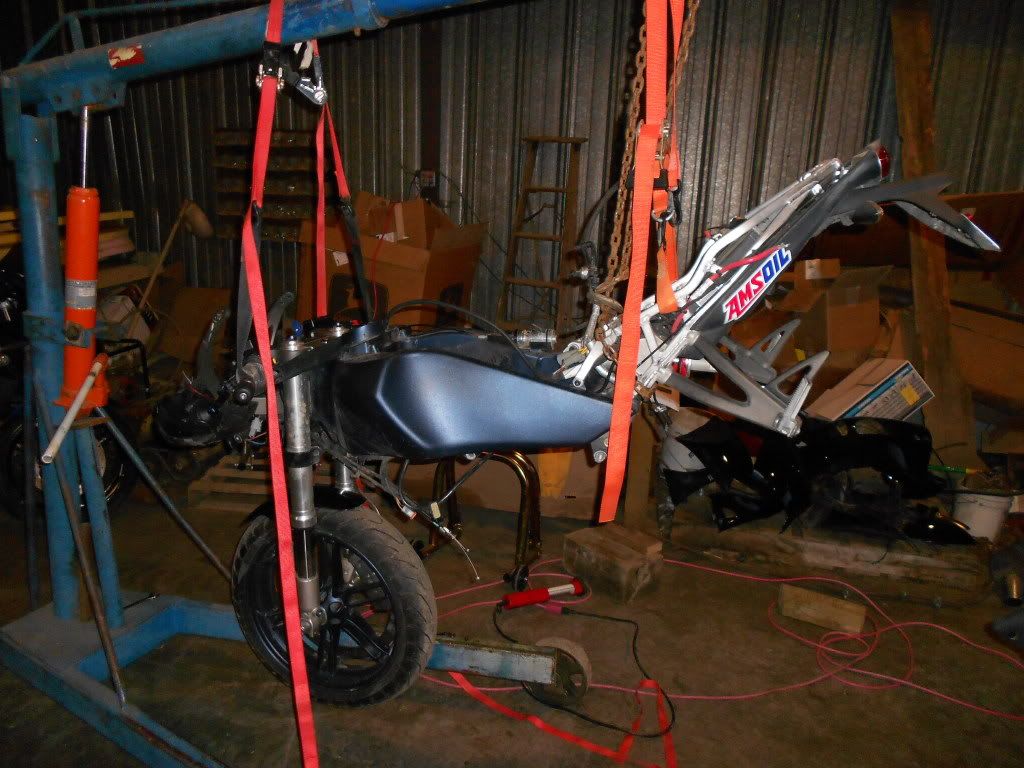 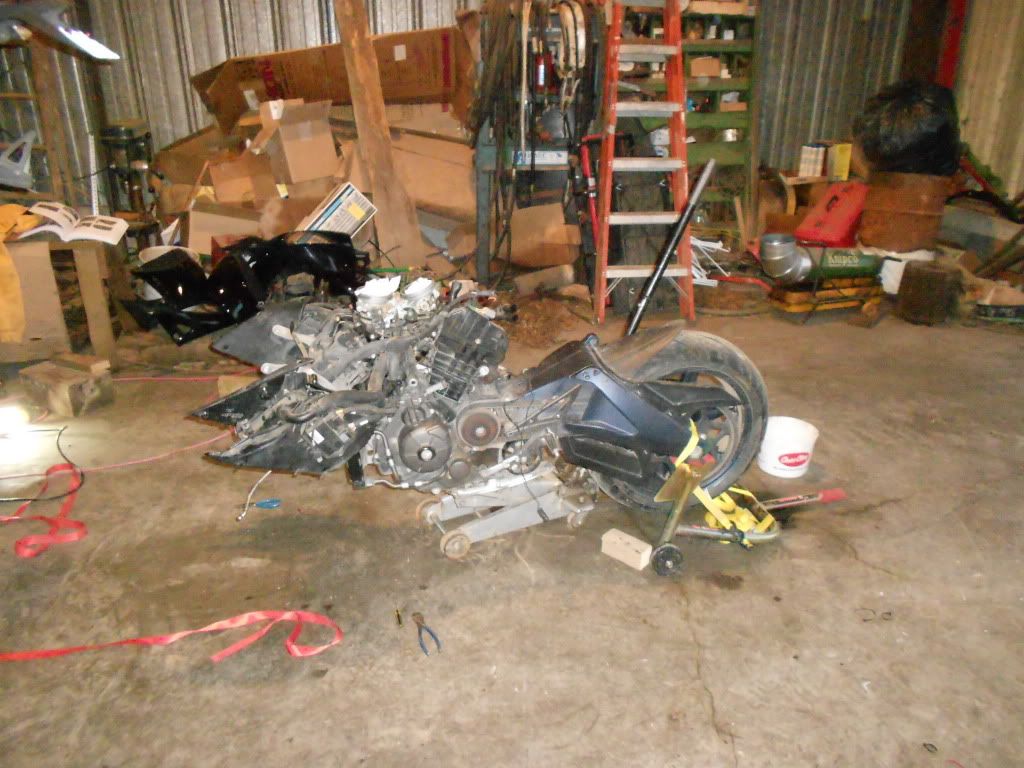 While I had it apart, I applied heat tape to the inside of the frame/tank. Not sure if it will help, but it can't hurt anything. 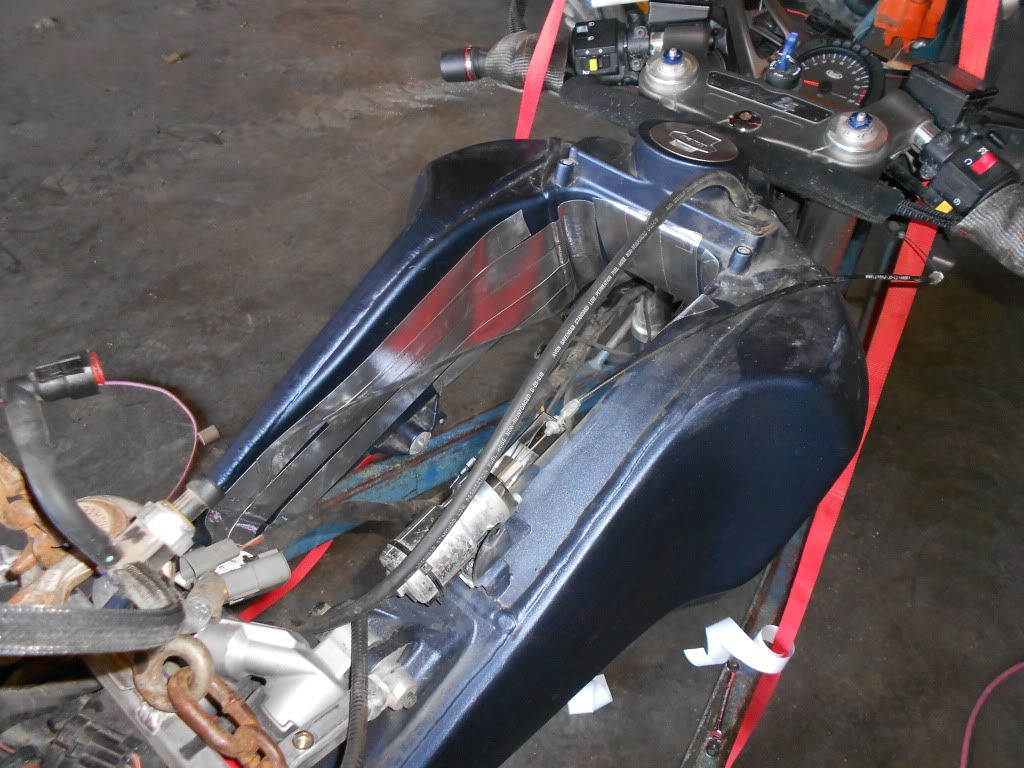 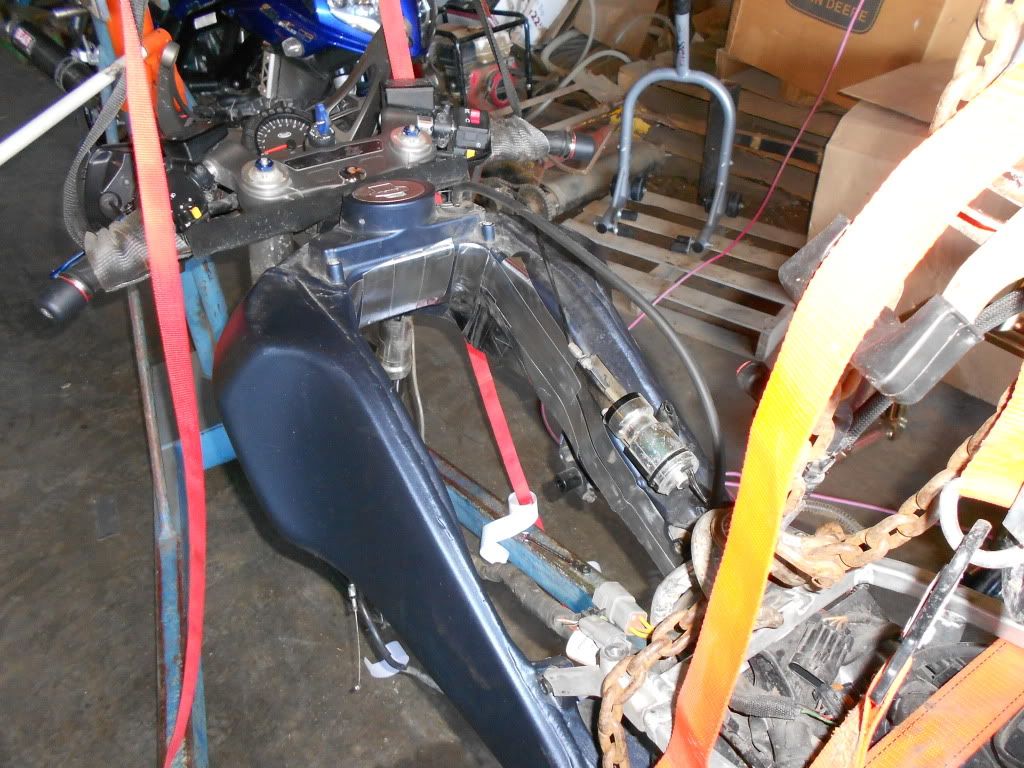 Remove the stator puck and plug, this is how you will rotate the engine. 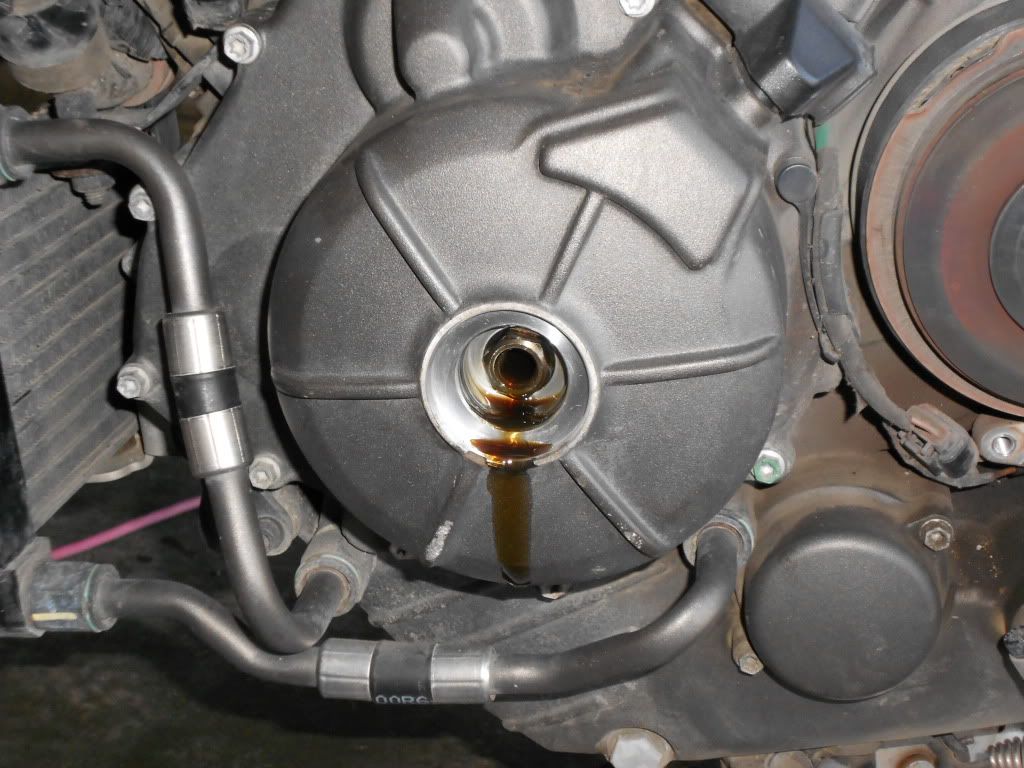 Then, remove the heads and start the valve check/adjustment per the manual. 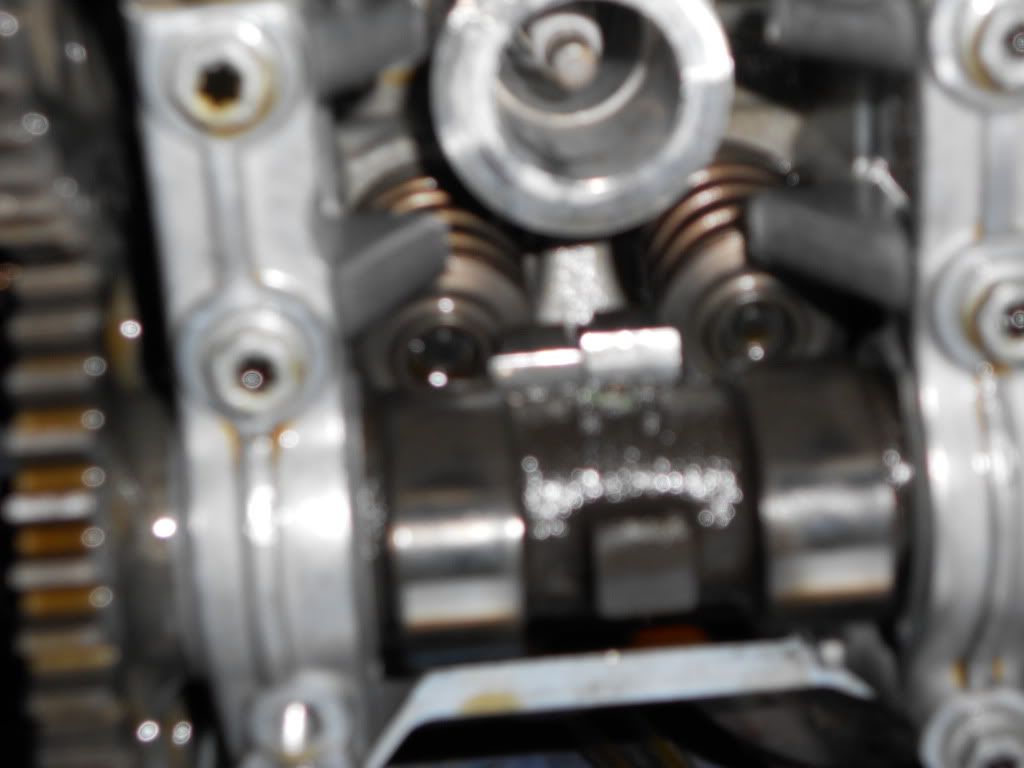 Loosen the plugs, but leave them in place as this will prevent you from accidentally dropping anything into the engine. I had good luck using a magnet tool to remove and replace the shims. Wipe them off with a rag first to remove the oil "seal" that holds them in place and they come right out. Measure with a micrometer or a caliper to get proper size of the old, and replace with the new using the formula in manual. All of mine were on the edge of in spec tight, or out of spec tight. Now they are all in spec mid to loose. 
|
|
|

|
|
|
#5 |
|
Ride Naked.
Join Date: Feb 2008
Location: Flat and Straight ND
Moto: 08 BUELL 1125R, 05 SV650S
Posts: 7,916
|
And here are the tools I used to complete the job.
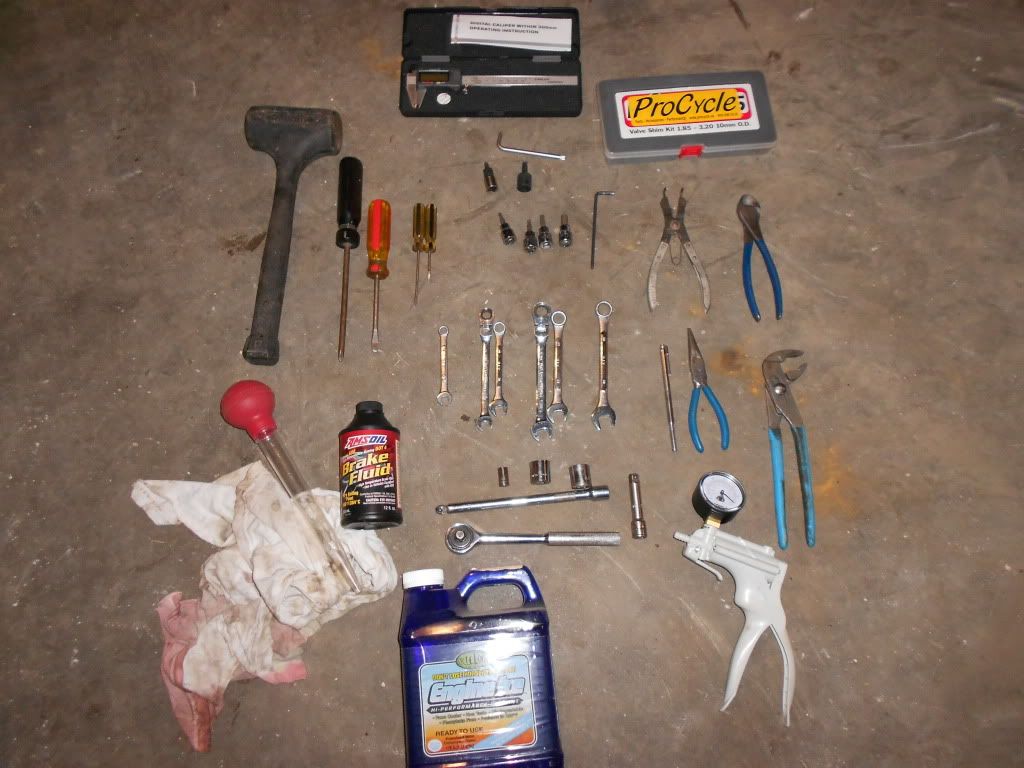 Feeler gauge spark plug wrench/socket Caliper Rubber mallet small flat tip screwdriver large flat tip screwdriver T30 driver T40 driver 4mm allen 5mm allen 6mm allen 8mm allen 4mm allen L shape snap ring pliers side cutter 8mm wrench 10mm wrench 13mm wrench 14mm wrench magnet tool needle nose pliers channel lock pliers ratchet w/ extension 8mm socket 17mm socket mity vac (or your favorite way to bleed brakes/clutch) turkey baster Dot 4 brake fluid Shim kit (10mm o.d.) Coolant (optional) rags Oil and filter And the most important 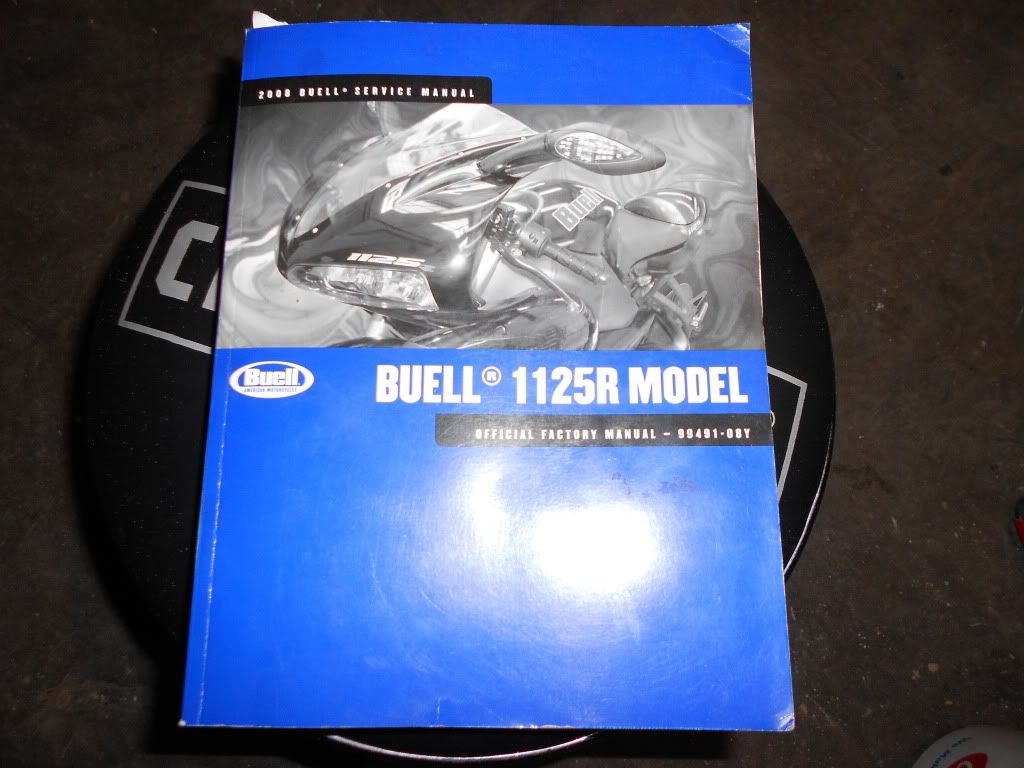 The manual. |
|
|

|
|
|
#6 |
|
Ride Naked.
Join Date: Feb 2008
Location: Flat and Straight ND
Moto: 08 BUELL 1125R, 05 SV650S
Posts: 7,916
|
Putting it back together is just a reverse of the disassembly.
It actually went back together very easily. All the wires are quick connect so they can't be hooked up incorrectly, so as long as you don't miss a connection, you should be good to go. Before I put all the plastics back on I also did a coolant flush with Engine Ice, flushed both brakes and clutch, and a complete oil change, to include pulling the sump plate since the exhaust was off anyway. Didn't need to, as it was clean, but now I know! Sorry for not having any reassembly pics, I ended up doing that a little at a time while I had time in the evenings. I hate doing it that way for fear I may miss something, but I had no extra parts, and everything seems to run smoothly. If you have any questions about the procedure, feel free to ask. It was not nearly as difficult as I expected, mostly just time consuming. |
|
|

|
|
|
#7 |
|
Ride Naked.
Join Date: Feb 2008
Location: Flat and Straight ND
Moto: 08 BUELL 1125R, 05 SV650S
Posts: 7,916
|
Not nearly as bad as I thought going in. And WAY easier than writing a $1000+ check to the dealer to do it! (probably wrong/half assed anyway)
|
|
|

|
|
|
#8 |
|
Moto GP Star
Join Date: Nov 2008
Posts: 11,022
|
Good stuff, I am sure my 5 little helpers would sleep through the entire project and just bug me to feed them
 Thats nice you can keep the front end all together, that will def save me soem time. Just wondering if I should do the bearrings then, if I need to, or make that another project. Theres a fair amt of room up front so i think I can do them without taking the body work off. |
|
|

|
|
|
#9 | |
|
Ride Naked.
Join Date: Feb 2008
Location: Flat and Straight ND
Moto: 08 BUELL 1125R, 05 SV650S
Posts: 7,916
|
Quote:
 If you split it like I did, it would probably be easier to do the bearings after it's back together. At least frame connected to engine. |
|
|
|

|
|
|
#10 |
|
Keyboard Racer
Join Date: Feb 2008
Location: Mile High City
Moto: Old Superbikes
Posts: 1,016
|
I'm impressed.
|
|
|

|
 |
| Bookmarks |
| Thread Tools | |
| Display Modes | |
|
|